Honeywell TH6220U2000 Installation Manual: A Comprehensive Guide
Welcome to your comprehensive guide for installing the Honeywell TH6220U2000 thermostat! This guide simplifies the installation process, providing clear instructions, and will help you control your heating and cooling system easily.
Package Contents
Before beginning the installation of your Honeywell TH6220U2000 thermostat, it’s crucial to verify that all necessary components are present within the package. This ensures a smooth and efficient installation process, preventing delays due to missing parts. The standard package should include the following items:
- Honeywell Home T6 Pro Thermostat: The main unit itself, featuring the display screen and control buttons.
- UWP Mounting System: This universal wall plate simplifies the mounting process, accommodating various wiring configurations.
- Screws and Anchors: Hardware for securely attaching the mounting plate to the wall.
- Wire Labels: Used to identify and properly connect the thermostat wires.
- Installation Instructions: A printed manual providing step-by-step guidance for installation and setup.
- Quick Start Guide: A simplified guide for basic operation after installation.
Additionally, some packages may contain an optional cover plate for aesthetic purposes, which can be used to conceal any existing wall imperfections. Carefully unpack all components and compare them to the list above. If any items are missing, contact Honeywell customer support or the retailer from whom you purchased the thermostat for assistance before proceeding with the installation.
Mounting the Thermostat
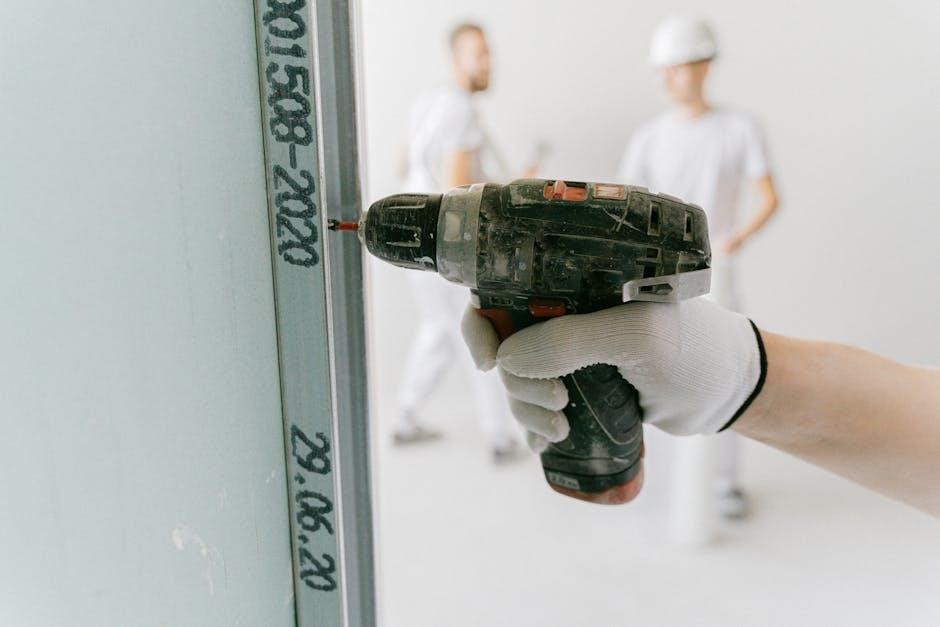
Properly mounting your Honeywell TH6220U2000 thermostat is a critical step in ensuring accurate temperature readings and optimal performance. Before you begin, ensure that the power to your heating and cooling system is turned off at the breaker box or switch to prevent electrical shock. Choose a location for the thermostat that is approximately five feet above the floor, away from direct sunlight, drafts, and heat sources. Interior walls are preferable.
The Honeywell TH6220U2000 utilizes the UWP (Universal Wall Plate) mounting system for easy installation. This system allows for flexible wiring and secure attachment to the wall. In this section, we will cover the UWP mounting system and optional cover plate installation, providing detailed instructions for each step. Following these instructions carefully will ensure that your thermostat is securely mounted and ready for wiring and setup.
Take your time during this process, double-checking your measurements and ensuring that the mounting plate is level before securing it to the wall. A properly mounted thermostat will not only function correctly but also contribute to the overall aesthetics of your home.
UWP Mounting System
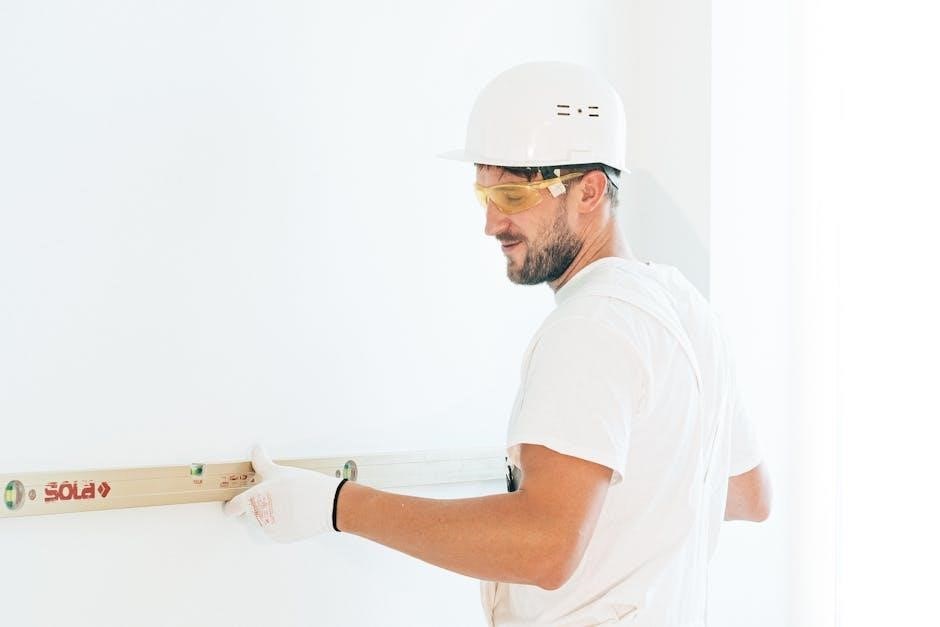
The Universal Wall Plate (UWP) mounting system is designed for easy and versatile installation of your Honeywell TH6220U2000 thermostat. To begin, carefully open the thermostat package and locate the UWP. Position the UWP on the wall at your desired location, ensuring it is level using a spirit level. Mark the locations for the mounting screws through the UWP’s mounting holes.
If you are mounting on drywall, it is recommended to use anchors for added stability. Drill pilot holes at the marked locations, insert the anchors if necessary, and then secure the UWP to the wall using the provided screws. Ensure the UWP is firmly attached and does not wobble. Next, carefully pull the thermostat wires through the opening in the UWP, leaving enough length to easily connect them to the wiring terminals. Push any excess wire back into the wall to avoid interference with the thermostat.
With the UWP securely mounted and the wires in place, you are now ready to proceed with wiring the thermostat. Double-check that the power is still off before proceeding.
Optional Cover Plate Installation
If you wish to conceal any existing marks or holes on the wall from your previous thermostat, or if you simply prefer a larger, more decorative appearance, an optional cover plate can be installed with your Honeywell TH6220U2000. Begin by separating the cover plate from its mounting plate, if they are pre-assembled.
Next, position the mounting plate of the cover plate against the wall, ensuring it is centered over the UWP mounting system already installed. Use the provided screws to attach the cover plate’s mounting plate to the wall. Utilize any of the available screw holes to achieve a secure and aesthetically pleasing fit. Once the mounting plate is securely fastened, carefully snap the cover plate onto the mounting plate. Ensure it is firmly attached and flush against the wall.
The cover plate provides a clean and finished look, enhancing the overall appearance of your thermostat installation. With the cover plate installed, you are now ready to proceed with wiring and configuring your Honeywell TH6220U2000 thermostat.
Wiring Instructions
Before commencing any wiring, ensure power to the HVAC system is switched off at the breaker or switch to prevent electrical shock. Carefully identify the existing wires connected to your old thermostat, labeling each wire with the corresponding terminal designation. This will significantly simplify the wiring process for your Honeywell TH6220U2000.
Consult the wiring diagrams included in this manual to determine the correct terminal connections for your specific HVAC system configuration. Gently insert each labeled wire into the appropriate terminal on the UWP (Universal Wall Plate), ensuring a secure and firm connection. Refer to the wiring diagram for conventional systems, heat pump systems, and other specific setups.
If you encounter any unfamiliar wiring scenarios or have doubts about the correct connections, consult a qualified HVAC technician. Double-check all wire connections before restoring power to the system. Proper wiring is crucial for the thermostat’s functionality and the safe operation of your heating and cooling equipment.
Powering the Thermostat
The Honeywell TH6220U2000 thermostat can be powered in one of two ways: through a common wire (C-wire) connection or via battery power. A C-wire provides a continuous 24VAC power supply to the thermostat, ensuring reliable operation and enabling certain advanced features. If your existing thermostat wiring includes a C-wire, connect it to the “C” terminal on the UWP (Universal Wall Plate).
If a C-wire is not available, the thermostat can operate on battery power using two AAA alkaline batteries. Open the battery compartment, typically located on the front or side of the thermostat, and insert the batteries, observing the correct polarity as indicated in the compartment. While battery power allows for basic thermostat operation, some features may be limited, and you’ll need to replace the batteries periodically.
Consider adding a C-wire if you want uninterrupted functionality, but be sure to turn off the power at the breaker or switch before carrying out any wiring!
Installer Setup (ISU)
The Installer Setup (ISU) menu allows you to configure the thermostat’s settings to match your specific heating and cooling system. To access the ISU, press and hold the CENTER button and the button simultaneously for approximately three seconds. The display will then enter the advanced menu. Use the “Select” button to navigate to the “ISU” option, and press “Select” again to enter the ISU menu.
Within the ISU menu, you can cycle through various setup options by pressing the “Select” button. These options may include system type (e.g., heat pump, forced air), staging configurations, temperature display (Fahrenheit or Celsius), and cycle rates. To change a value or select from available options, use the and buttons. Once you have made your desired changes, press “Select” to save the new setting and move to the next option.
Consult the ISU parameter table in the full installation manual for a complete list of available settings and their recommended values for your system.
System Operation Settings (Heat, Cool, Off)
The Honeywell TH6220U2000 thermostat offers three primary system operation settings: Heat, Cool, and Off. These settings dictate whether the thermostat controls your heating system, your cooling system, or neither. To select the desired mode, press the “Mode” button on the thermostat’s face. Each press of the button will cycle through the available options, which will be displayed on the screen.
In “Heat” mode, the thermostat will activate your heating system when the room temperature falls below the setpoint temperature; In “Cool” mode, the thermostat will activate your cooling system when the room temperature rises above the setpoint temperature. In “Off” mode, neither the heating nor the cooling system will be activated, regardless of the room temperature.
The appropriate system operation setting will depend on the season and your desired level of comfort; During colder months, you will typically use the “Heat” mode, while during warmer months, you will use the “Cool” mode. The “Off” mode can be used when you want to disable both heating and cooling.
Fan Operation Settings
The Honeywell TH6220U2000 thermostat provides settings to control the fan’s operation, offering options for both continuous and automatic fan control. Adjusting these settings allows you to optimize airflow and improve overall comfort within your home. The “Fan” button on the thermostat cycles through the available fan modes.
The “Auto” setting means the fan operates only when the heating or cooling system is active, conserving energy and reducing noise. Conversely, the “On” setting keeps the fan running continuously, regardless of whether the heating or cooling system is in operation. Continuous fan operation can help to circulate air, even out temperature differences between rooms, and improve air filtration.
Selecting the best fan setting depends on your preferences and needs. If energy conservation is a priority, use the “Auto” mode. If consistent airflow and improved air quality are desired, the “On” mode is a good choice. Experiment with both to determine the optimal setting for your environment.
Program Schedule Configuration
The Honeywell TH6220U2000 thermostat allows you to configure a custom program schedule to optimize your home’s temperature settings based on your daily routine. This feature helps conserve energy and ensures comfort when you need it most. The thermostat typically offers different scheduling options, such as 7-day, 5-1-1, or 5-2 programming, depending on the model.
To configure the program schedule, access the thermostat’s menu and navigate to the scheduling settings. You can then set different temperature points for various time periods throughout the day, such as “Wake,” “Leave,” “Return,” and “Sleep.” Each period can be customized for specific days of the week, offering flexibility to match your lifestyle.
When setting the schedule, consider your typical daily activities and preferences. For example, you might lower the temperature while you’re away at work and increase it before you return home. Taking advantage of the programmable schedule can lead to significant energy savings and improved comfort levels.
Troubleshooting
Encountering issues during or after the installation of your Honeywell TH6220U2000 thermostat is not uncommon. This section addresses some frequently encountered problems and their potential solutions. If the thermostat is not powering on, ensure that the breaker is on and the wiring is correct. Check the wiring diagram to verify that each wire is connected to the appropriate terminal.
If the thermostat displays an error message, consult the user manual for specific troubleshooting steps related to that error code. Common issues include “Batt” indicating low batteries or connectivity problems with the HVAC system. If the heating or cooling system is not responding to thermostat commands, double-check the system operation settings within the installer setup (ISU) menu.
Another potential issue is inaccurate temperature readings. Make sure the thermostat is not placed in direct sunlight or near heat sources. If problems persist, consider resetting the thermostat to its factory defaults. If all else fails, contact a qualified HVAC technician or Honeywell support for assistance.
Battery Replacement
The Honeywell TH6220U2000 thermostat typically operates on battery power to maintain its settings and functionality. When the low battery indicator appears on the display, it’s time to replace the batteries. To replace the batteries, first, gently detach the thermostat from the wall plate. Locate the battery compartment, usually on the back of the thermostat.
Remove the old batteries and dispose of them properly, following local regulations for battery disposal. Insert new, high-quality AA alkaline batteries into the compartment, ensuring that they are oriented correctly according to the polarity markings (+ and -). Once the new batteries are in place, carefully reattach the thermostat to the wall plate, making sure it clicks securely into place.
After replacing the batteries, the thermostat will automatically power on. Verify that the display is functioning correctly and that the system settings are retained. If the thermostat displays any error messages or fails to power on after replacing the batteries, double-check the battery polarity and ensure that the batteries are fresh.